Prerequisites
Currently, only Doraemon: Nobita’s Resident Evil 2 (Vietnamese Version) officially supports macOS. You can download and play it right away without going through these complicated steps.
Aside from that game, you will need support tools to be able to play other games:
- RPG Maker 2000/2003: Use Wine or EasyRPG (which officially supports macOS).
- RPG Maker XP/VX/VX Ace: Use Wine or MKXP (which officially supports macOS, but compatibility is very low).
- RPG Maker MV/MZ: Use NW.js (most games will support running on macOS, except for a few games).
Not all Windows games can run on macOS. If you encounter an error when running a game, there is no other way; you must contact the developer to request an official version for macOS.
These methods may not work for Mac computers running on Apple silicon CPUs (M1 and later). I do not have this type of Mac, so I cannot provide a detailed guide for it.
You can also install a virtual machine running Windows, or use BootCamp to install Windows on your Mac; and then apply the instructions for Windows.
However, this is beyond the scope of my Nobihaza guide, so I will not provide instructions for it here.
This guide is only for those who want to run games directly on macOS through support tools.
Table of Contents
- Computer configuration
- Initial setup
- Wine and Kegworks
- RPG Maker 2000/2003
- RPG Maker XP/VX/VX Ace
- RPG Maker MV
Computer configuration
Before following this guide, ensure your device is on macOS 10.15 (Catalina) or later. This means your Mac must be one of the following models:
- iMac 2012 or newer
- iMac Pro 2017
- MacBook 2015 or newer
- MacBook Air 2012 or newer
- MacBook Pro 2012 or newer
- Mac Mini 2012 or newer
- Mac Pro 2013 or newer
Your machine also needs to have at least 4GB of RAM or more.
Initial setup
Disable Gatekeeper
Gatekeeper is a macOS feature that helps prevent third-party applications not verified by Apple (more accurately, those that haven’t purchased Apple’s $99/year certificate) from running. However, some games and support tools cannot run without disabling Gatekeeper.
This does reduce the security of macOS, but there is no other way.
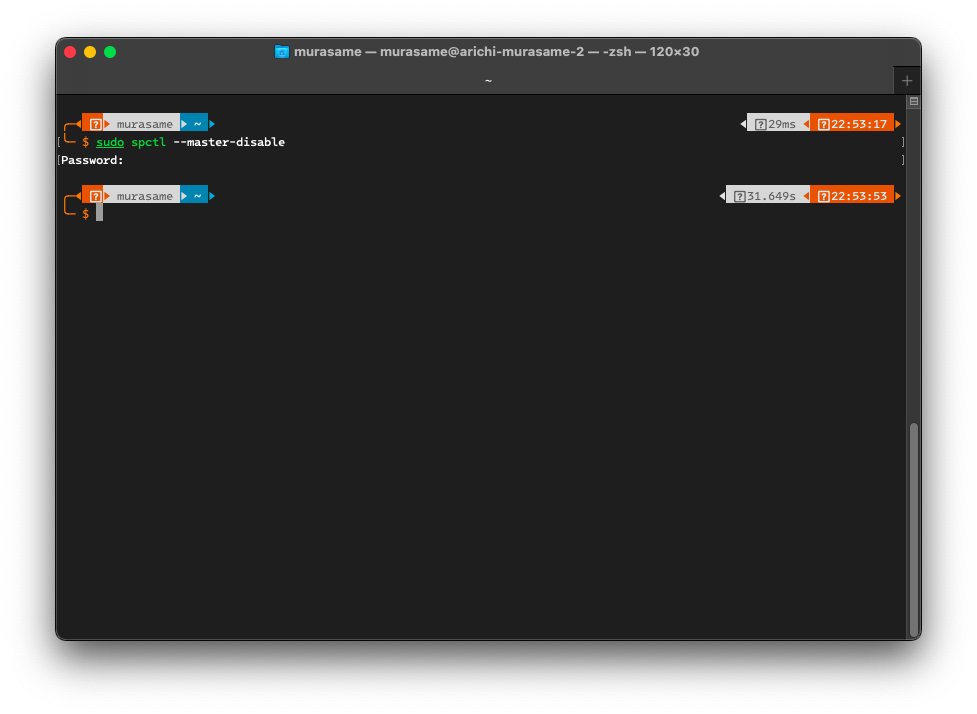
- Open the Terminal application and enter the following command:
sudo spctl --master-disable
- Enter your macOS password if prompted and press Enter.
- You can go to System Preferences -> Security & Privacy -> General. If the Anywhere option has been added to the Allow apps downloaded from section, it means you have successfully disabled Gatekeeper.
The Unarchiver
Although the default decompressor in macOS is much smarter than the one in Windows, it still cannot extract some compressed file formats, so you should still download third-party decompression software.
-
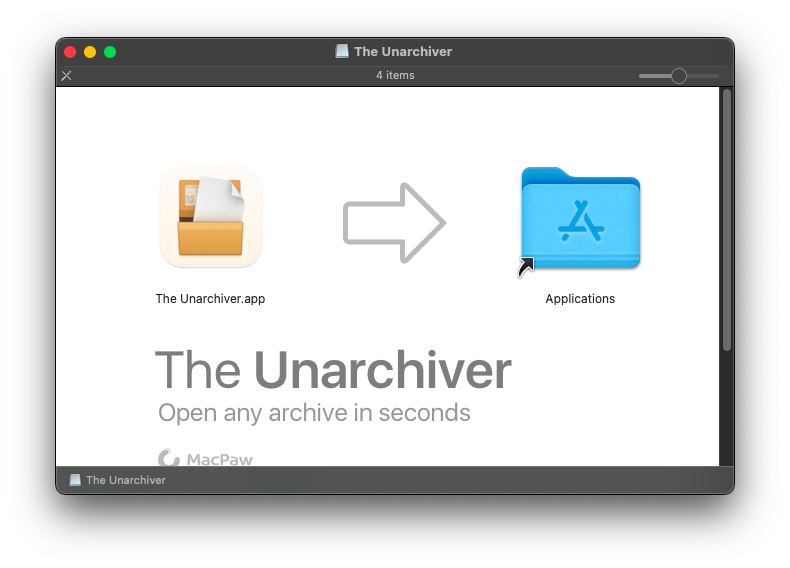
Download The Unarchiver, then open the downloaded
TheUnarchiver.dmgfile. -
Drag the
The Unarchiver.appitem into theApplicationsfolder of macOS.
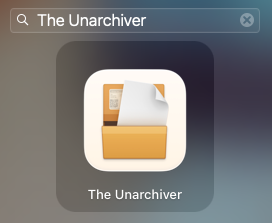
- Open The Unarchiver application from Launchpad or the
Applicationsfolder.
- Click the Select All button in The Unarchiver’s window and close the window.
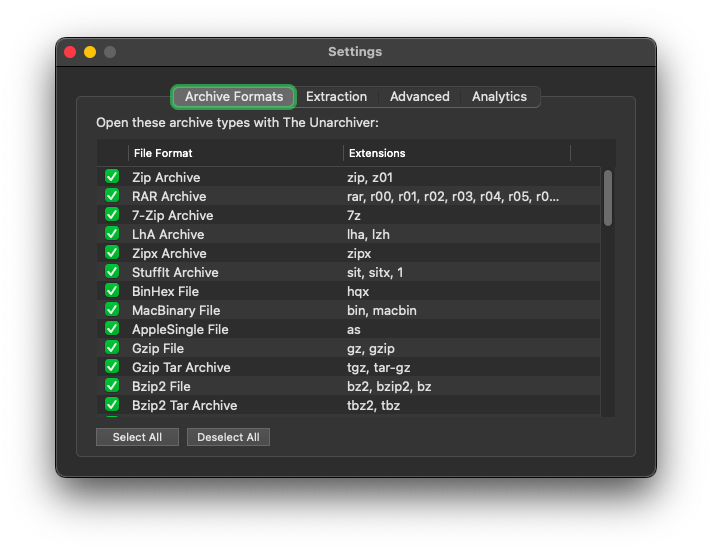
- From now on, The Unarchiver will replace the default macOS decompressor for extracting files.
Xcode Command Line Tools
This tool will install the necessary libraries to install MacPorts below and other support tools.
- Open the macOS Terminal and enter the following command:
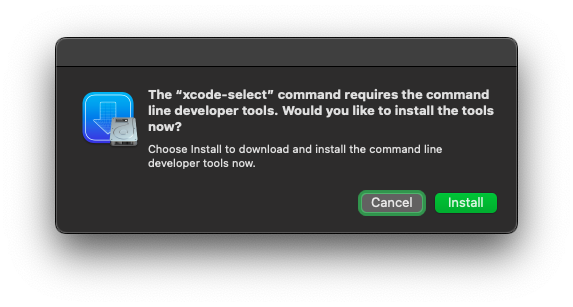
xcode-select --install
- A dialog box will appear; click Install to continue. You may be asked to enter your Mac’s password.
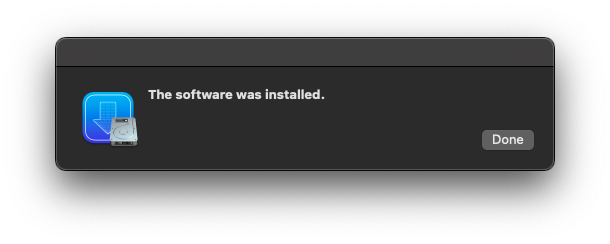
- Click the Agree button to agree to the Xcode Terms of Use. Then wait for the installation process to complete as shown in the image below.
MacPorts
MacPorts will be necessary to install the support tools for playing games on macOS.
-
Go to the official MacPorts website.
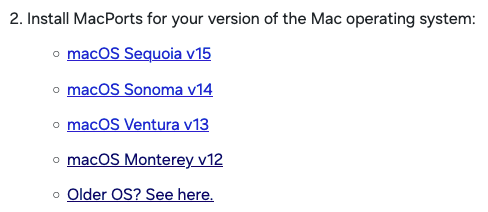
-
Select the macOS version you are using from the list. If you are using an older version, click on Older OS.
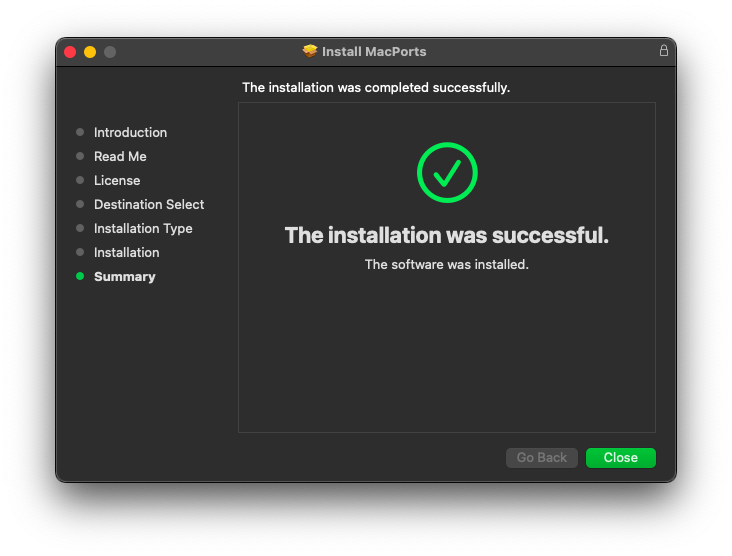
- Run the downloaded
.pkgfile. An installation window will appear; click Continue repeatedly and then click Install to begin the installation. Enter your macOS password and wait for the installation process to complete.
Wine and Kegworks
If you do not intend to run any games made with RPG Maker VX Ace or older on macOS, you can skip this step.
If you have already purchased CrossOver and want to use it to play games instead of Kegworks, you can skip the section below and see this guide.
Wine (an acronym for Wine Is Not an Emulator) is a compatibility layer for running Windows applications on other operating systems, and Kegworks is an application that makes it easier to run Wine on macOS.
Install Kegworks
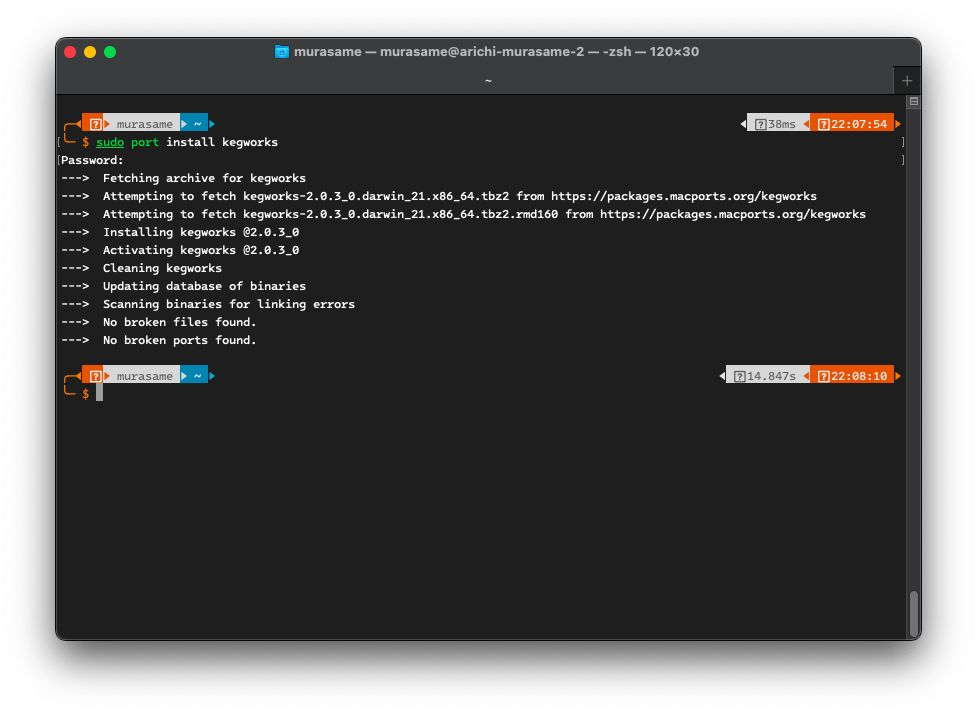
- Open the Terminal application and enter the following command, then press Enter and enter your macOS password.
sudo port install kegworks
- Wait for the installation process to complete as shown in the image below.
- You will now see the Kegworks Winery application in Launchpad or the
Applicationsfolder of macOS.
Install Wine for macOS
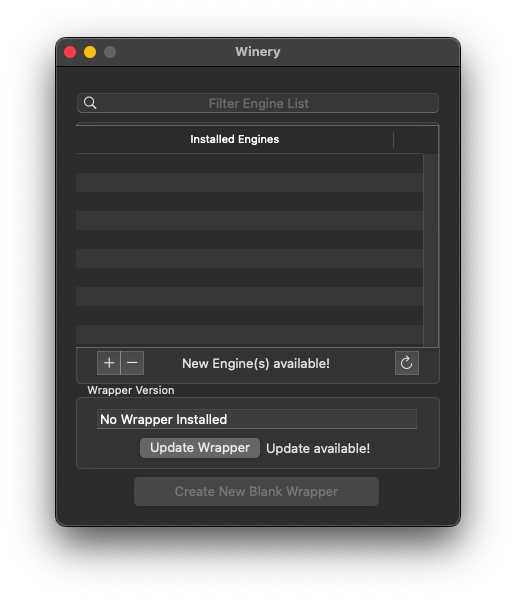
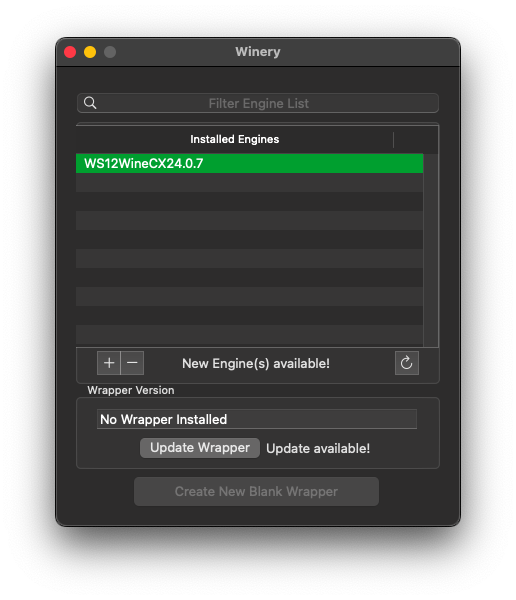
- Open the newly installed Kegworks Winery application. Click the plus sign in the bottom left corner (above the text
Wrapper Version) to add a new Wine version.
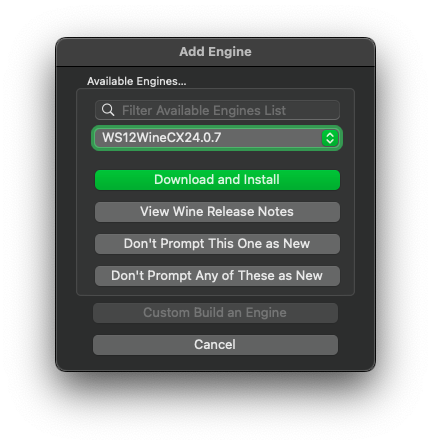
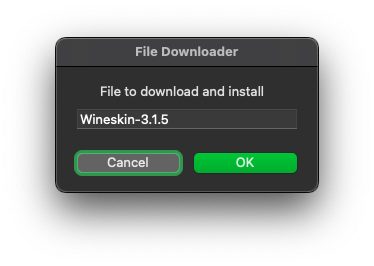
- Select the latest version of Wine (usually at the top of the list) and click the Download and Install button.
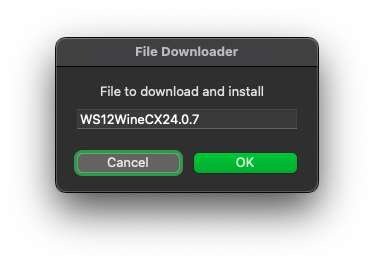
- Click OK to start the download.
- The Installed Engines list now has the Wine version you just downloaded. Next, click the Update Wrapper button.
- Click OK to start the download.
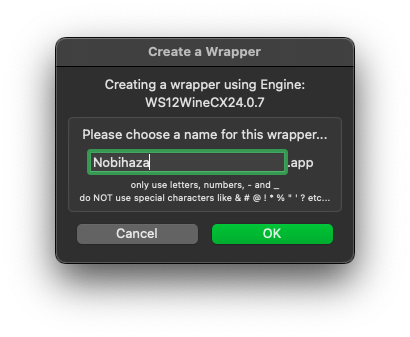
- Click the Create New Blank Wrapper button. You can enter any name you want; here I will enter the name
Nobihaza.
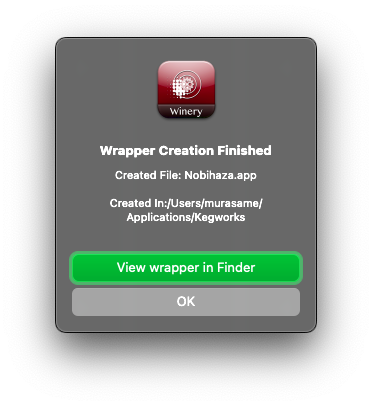
- Wait until a message indicating successful creation appears as shown below.
Install necessary libraries for Wine
Some games will have font errors or will not function correctly if the necessary libraries are not installed.
- Open Launchpad and type the name of the application you entered in the step above.
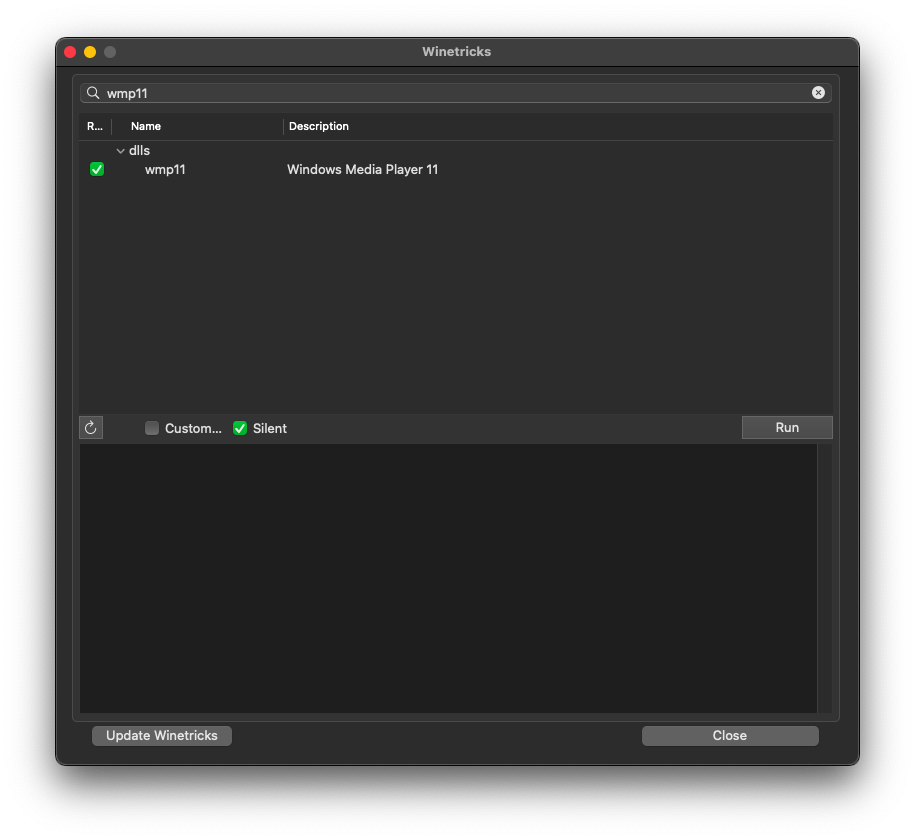
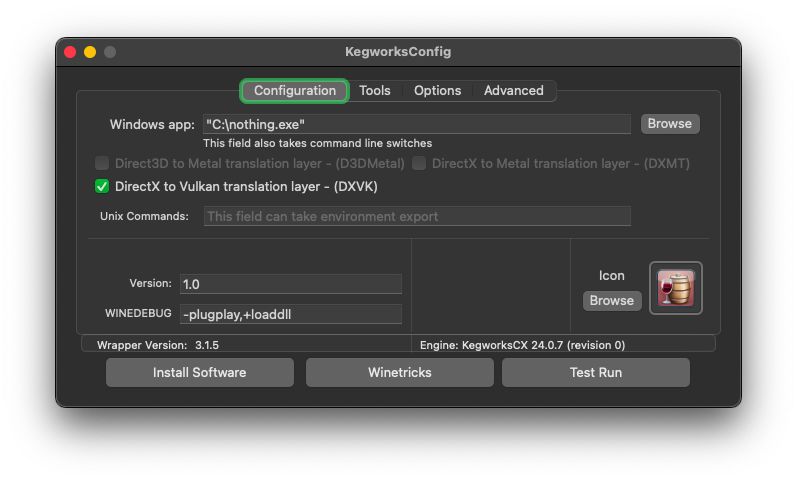
- When the KegworksConfig window appears, click the Winetricks button. First, type
wmp11into the search bar, click the arrow button to the left ofdlls, and check thewmp11item.
- Then, type
corefontsinto the search bar, click the arrow button to the left offonts, and check thecorefontsitem.
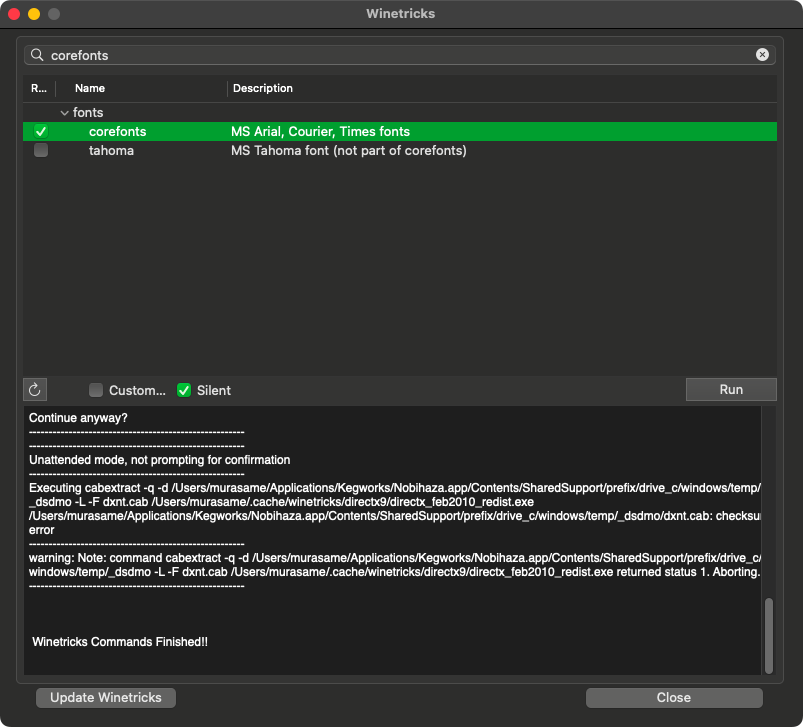
- Do the same for
dsound,directmusic,dmsynth,gmdls, anddsdmo. Then click the Run button to start the installation, and click Yes to confirm.
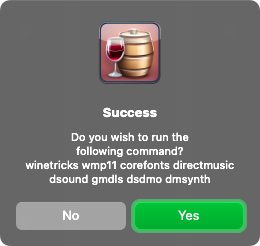
- Wait for the installation process to complete. Click the Close button to close Winetricks.

- Finally, check the DirectX to Vulkan translation layer item.
Change region to Japan for Wine
Like with Windows, most Nobihaza games are Japanese, so you need to change the region to Japan to avoid language-related errors.
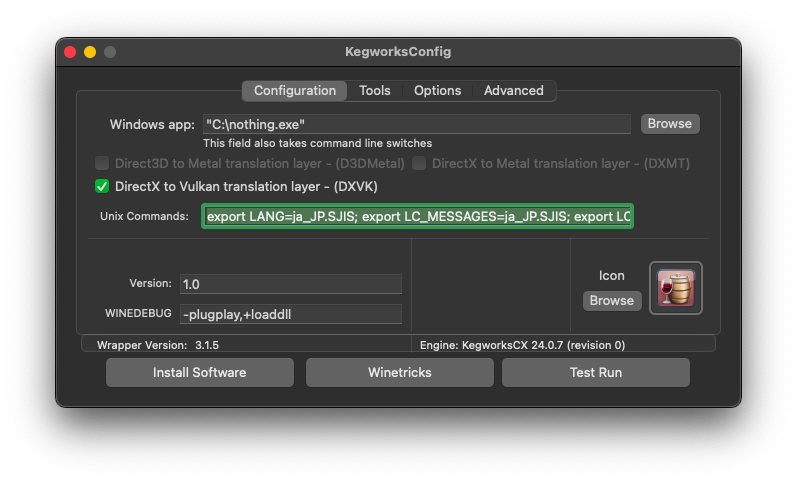
- In the KegworksConfig window, enter the following line into the Unix Commands box:
export LANG=ja_JP.SJIS; export LC_MESSAGES=ja_JP.SJIS; export LC_ALL=ja_JP
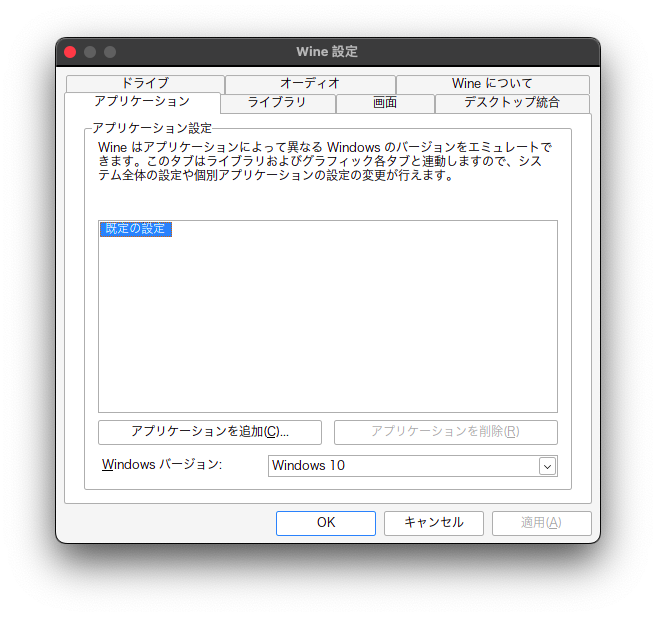
- Go to the Tools tab of KegworksConfig and click on Config Utility (winecfg). If the Wine configuration application appears with all Japanese text as shown in the image below, it means you have successfully changed the region.
RPG Maker 2000/2003
Japanese Runtime Package (RTP)
-
Download the Japanese RTP 2000 and Japanese RTP 2003.
-
Extract both the
2000rtp.zipand2003rtp.zipfiles.
The Unarchiver may ask about the character encoding of some files when you extract them. In that case, select the Filename Encoding as Japanese (Shift JIS) as shown below and click Continue.

-
Re-open the
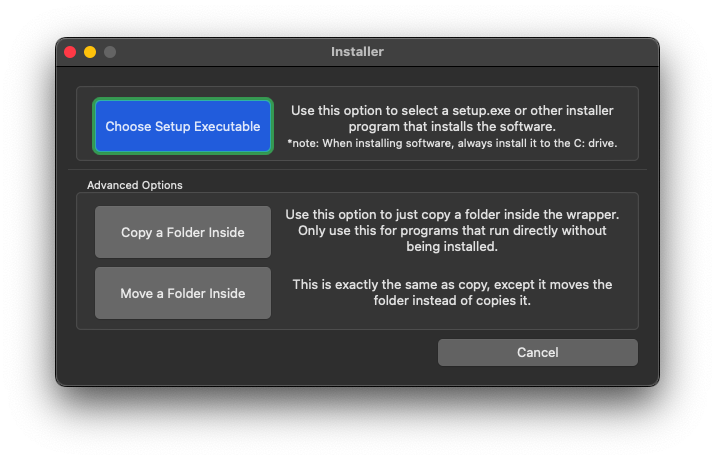
Nobihazaapplication (or the different name you chose). In the KegworksConfig window, click Install Software. -
Click the Choose Setup Executable button.
- Select the
RPG2000RTP.exefile in theRTPセットアップfolder you extracted earlier.
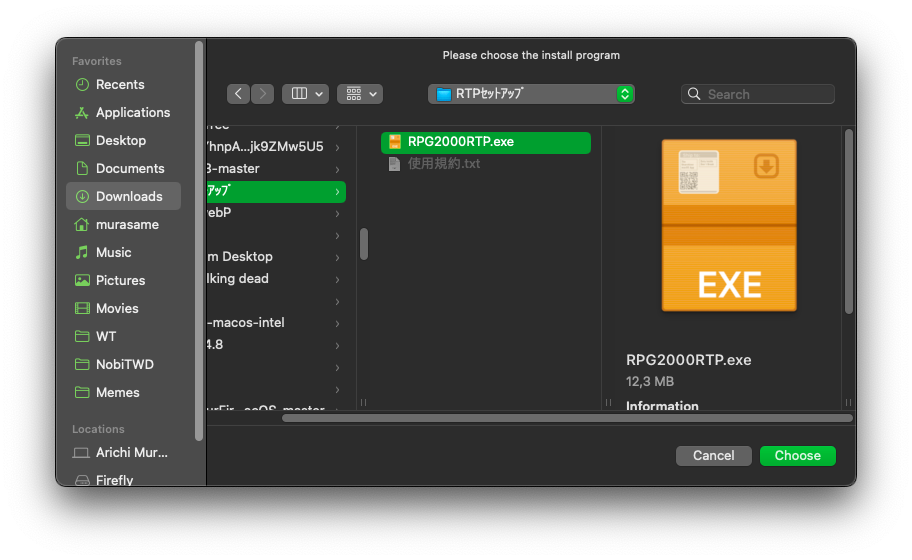
If you get an Invalid name error when running the
RPG2000RTP.exefile, try moving that file to another folder that does not have special characters.
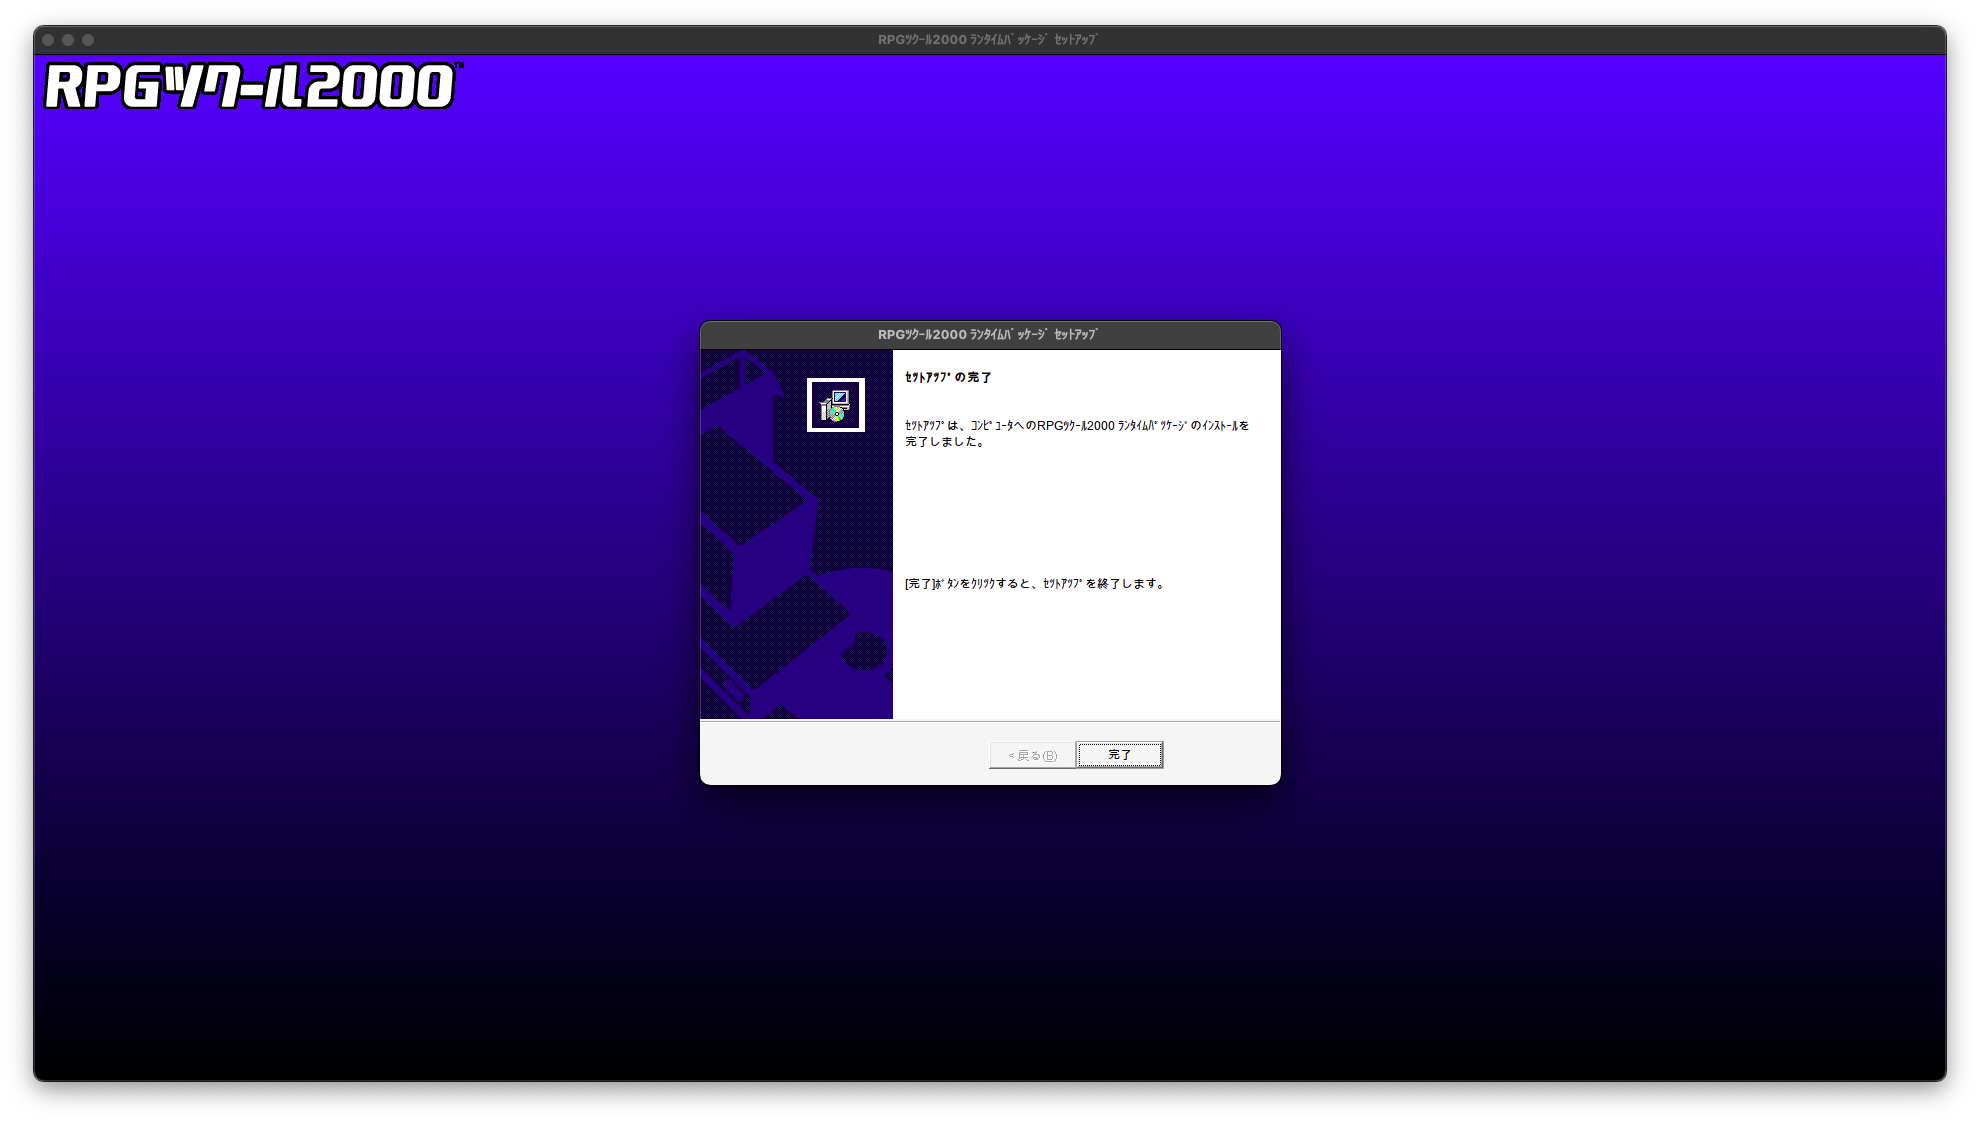
- Click the Next button (the one with the letter N) repeatedly and wait for the installation process to complete as shown in the image below.
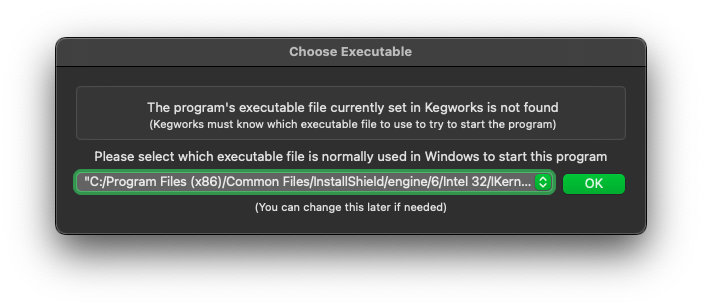
- Kegworks will ask for the “startup address” of the application, but since we are installing an RTP, you can just click OK.
- Do the same for the
RPG2003RTP.exefile in the2003RTPセットアップfolder.
Kegworks may report Installation failed even though no error occurred during the installation process; you can completely ignore this message.
English Runtime Package (RTP)
Some specific English Nobihaza games will also need this runtime package.
-
Download the English RTP 2000 and English RTP 2003.
-
The RTP 2000 is an
.exefile so you don’t need to extract it, but you will need to extract the RTP 2003. Then, proceed with the installation just like the Japanese version.
EasyRPG
EasyRPG officially supports macOS, so you won’t need to use Wine to install it.
-
Extract the downloaded
.zipfile, and you will see an application namedEasyRPG Player. -
You can either:
- Copy it into the game folder and run this application directly to play.
- Copy it into the parent folder containing your Nobihaza games. When you run the
EasyRPG Playerapplication, you will be able to choose which game to play each time.
RPG Maker XP/VX/VX Ace
There are almost no Nobihaza games that run on RPG Maker XP, but you should still install it if you encounter a game that uses this engine. As for VX and VX Ace, there are many, so please install all of them fully.
Japanese Runtime Package (RTP)
- Download the Japanese RTP for:
-
Extract the downloaded files. You will get 3 folders containing the RTP installation files for the 3 engines.
- Click the Install Software button in KegworksConfig, click Choose Setup Executable and select the
Setup.exefile in theRPGXP_RTP103folder.

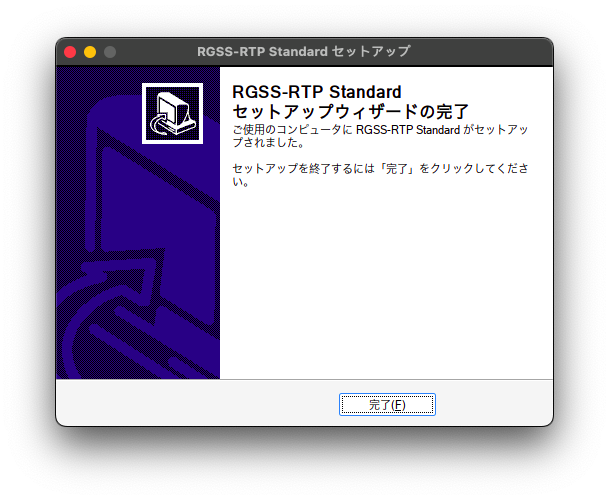
- Click Next (the first button with the letter N), until you see this screen, which means the installation was successful.
RPG Maker VX
After clicking the Choose Setup Executable button, select the Setup.exe file in the RPGVX_RTP202 folder and do the same as for RPG Maker XP.
RPG Maker VX Ace
After clicking the Choose Setup Executable button, select the Setup.exe file in the RPGVXAce_RTP100 folder and do the same as for the two engines above.
English Runtime Package (RTP)
- Download the English RTP for:
- Then extract and install similarly to the Japanese RTP.
RPG Maker MV
Some games cannot be run on macOS unless you modify the game’s data (requires knowledge of JavaScript programming) because these games use Windows-only libraries. See more in the Support Status section.
For macOS, downloading NW.js is mandatory.
-
Go to the NW.js download page.
-
Select the NORMAL version for your type of Mac.
- If you are using a Mac with an Intel CPU, select the Mac OS X 64-bit version.
- If you are using a Mac with an Apple silicon CPU, select the Mac OS X ARM64 version.
