Downloading and Running Games
Installing games on macOS can be quite difficult as almost no games officially support macOS.
Table of Contents
- Downloading the game
- Extracting the game
- Open the Kegworks Config application
- RPG Maker 2000/2003
- RPG Maker XP/VX/VX Ace
- RPG Maker MV/MZ
Downloading the game
If the game does not support macOS, you must download the version for the Windows 64-bit operating system and install it via Kegworks (or NW.js if it’s an RPG Maker MV game).
To download, you just need to go to the website and download the game version. It could be a compressed file (.zip, .rar, .7z) or an .exe file (if it’s the Windows version).
Extracting the game
It is recommended to use the The Unarchiver software that I mentioned in section 1 to be able to extract
.rarcompressed files and some other file types.
Double-click the compressed file to extract it. Afterward, a folder with the same name as the compressed file will appear in the same directory.
Open the Kegworks Config application
If you have already purchased CrossOver and want to use it to play games instead of Kegworks, you can skip the section below and see this guide.
With the exception of games made with RPG Maker MV and games that support EasyRPG, all other games will have to be installed through the Kegworks Config application.
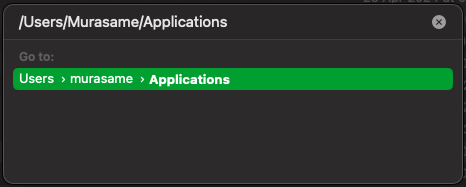
- Open Finder on macOS. Press the key combination
Command + Shift + Gto open the navigation window and type/Users/yourusername/Applications(whereyourusernameis your macOS username).
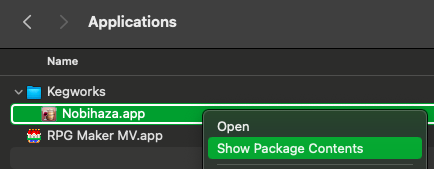
- Right-click the
Nobihazaapplication (or the different name you set in section 1) and click Show Package Contents.
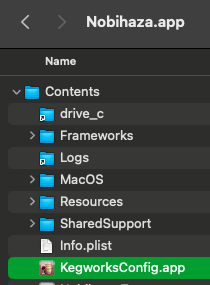
- Go into the
Contentsfolder and run theKegworksConfigapplication. TheKegworksConfigwindow will then appear.
RPG Maker 2000/2003
Running with the RPG_RT.exe file
-
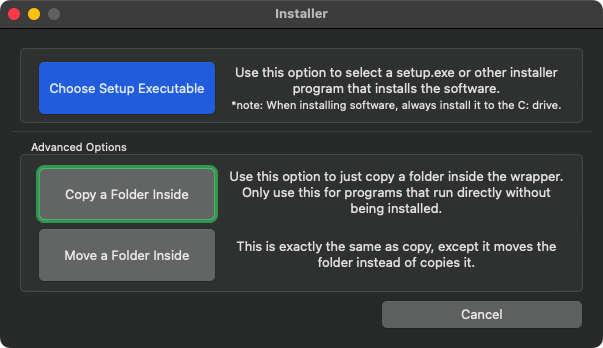
Open the Kegworks Config application first, then click the Install Software button.
-
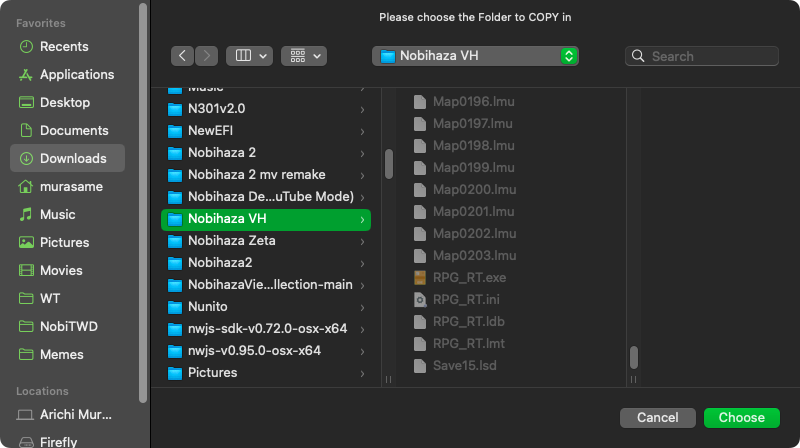
Click the Copy a Folder Inside button.
- Select the game folder you extracted (the one containing the
RPG_RT.exefile or similar.exefiles).
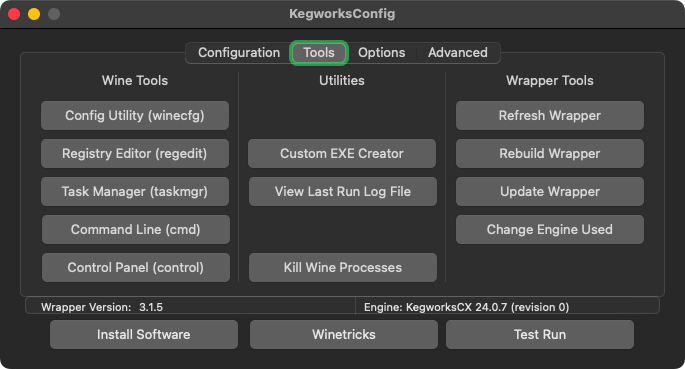
- Wait for the copying process to complete; it may take a significant amount of time depending on the size of the game. Then switch to the Tools tab of KegworksConfig and click Custom EXE Creator.
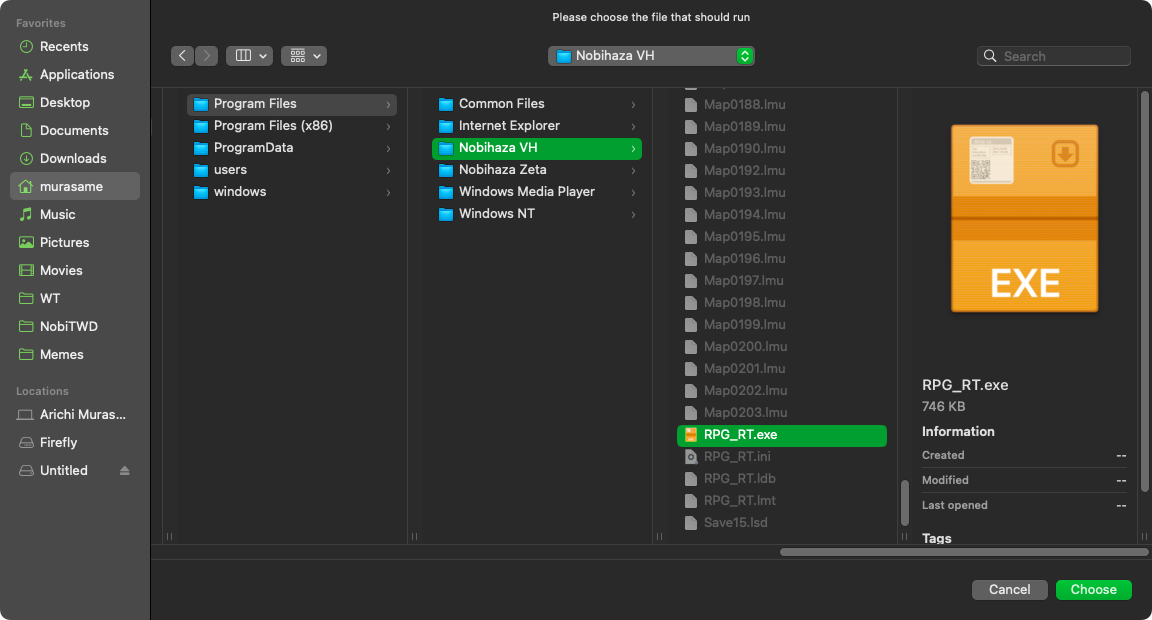
- Click the Browse button next to the Windows EXE field in the Custom Executable Launcher Maker window. The folder selection window will appear and will be selecting the
drive_cfolder. Click on the Program Files item to the right and you will see the game folder that was copied. Select theRPG_RT.exefile from that folder.
- In the Name to use section, enter the name of the game (or any name you choose).
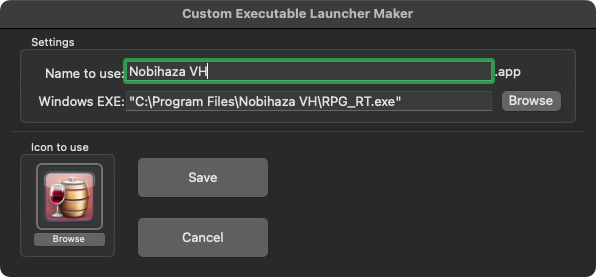
You can also change the game’s icon by clicking Browse in the Icon to use section. I will provide detailed instructions on how to change it in a later section of the guide.
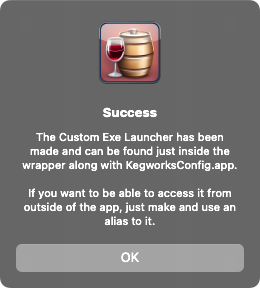
- Click the Save button. A Success message will appear.
- Go back to the Finder window and navigate to the
/Users/yourusername/Applications/Nobihaza.app/Contentsfolder. You will see the game you just added in that folder.
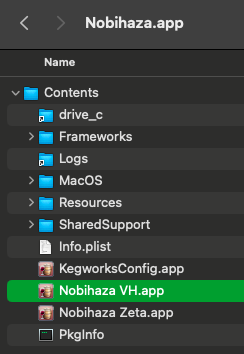
- If you want to add the game to Launchpad, right-click the game’s name in the Contents folder and click Make Alias. A new file with
aliasin its name will appear; remove the word alias from that name.

- Move the shortcut (alias) you just created into the main macOS
Applicationsfolder.
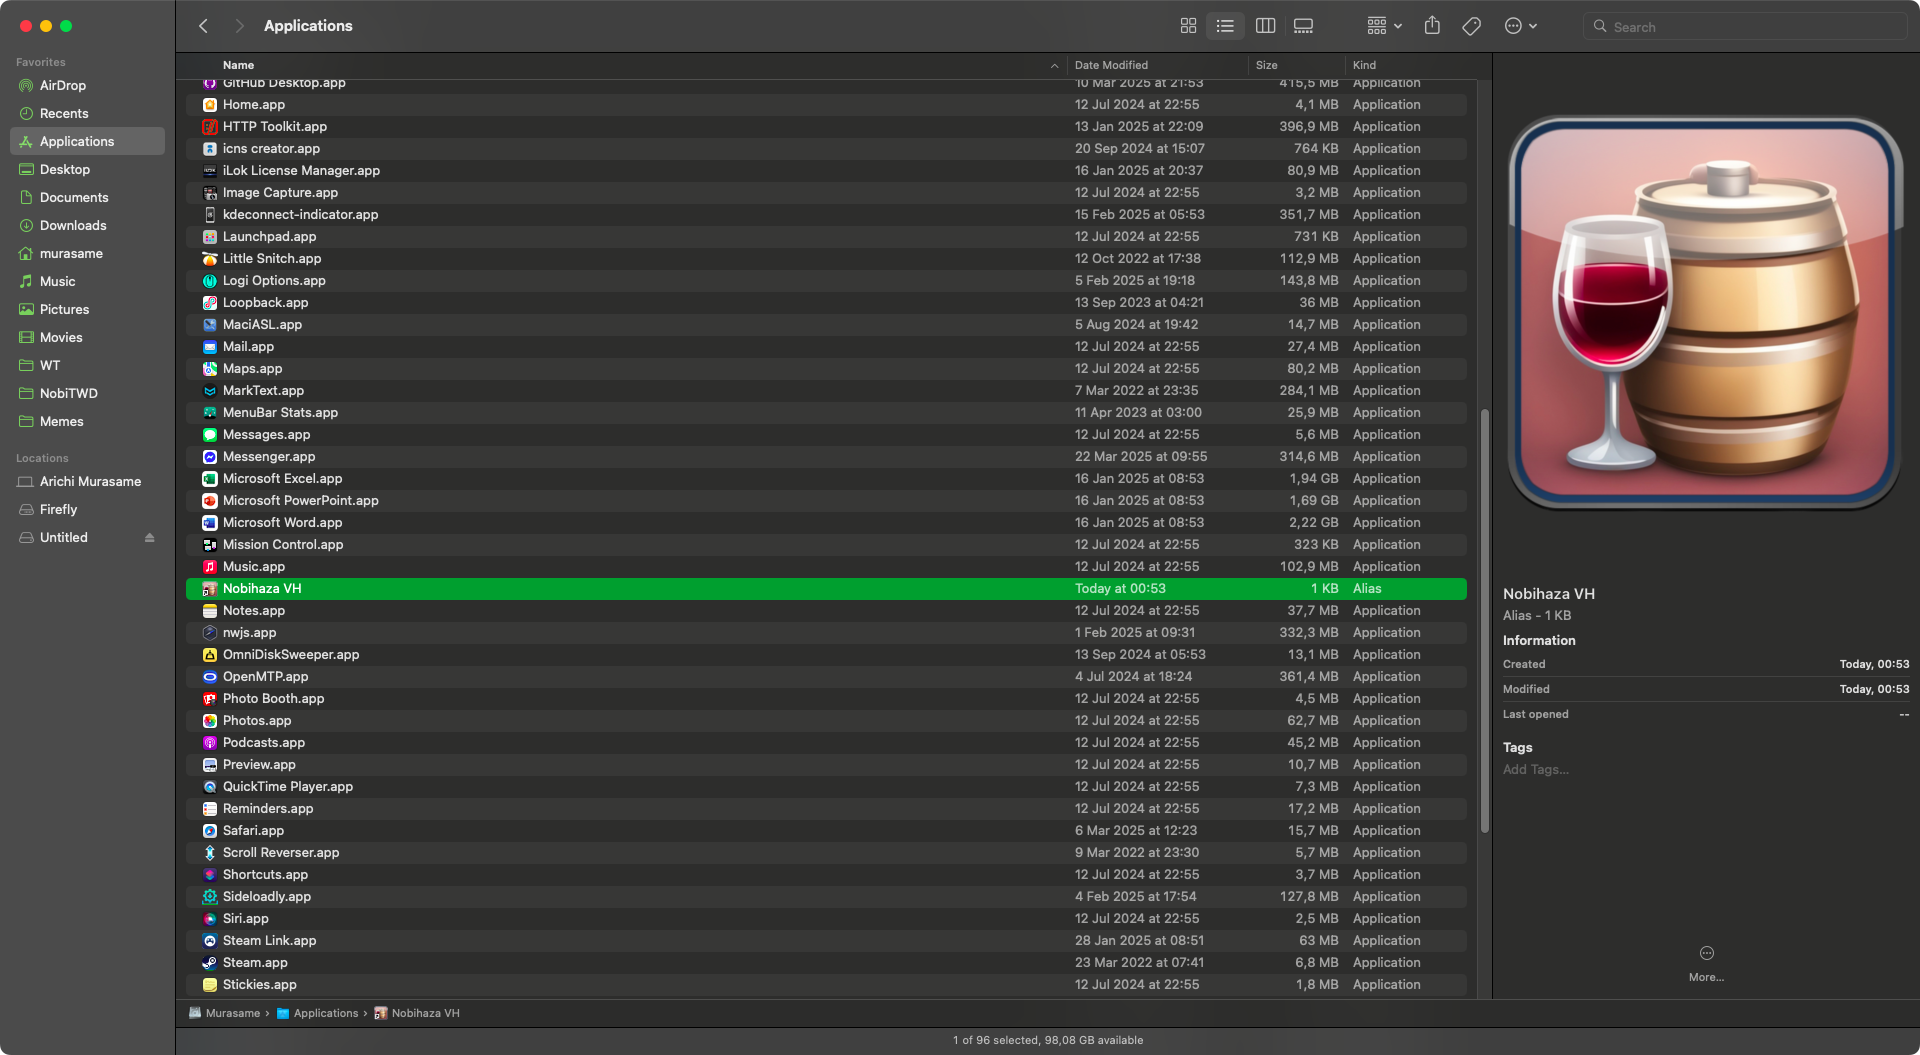
Ensure you are moving the shortcut (which says Alias in the Kind column) and not moving the application (which says Application instead of Alias).
Moving the application instead of the shortcut may cause the game not to run!
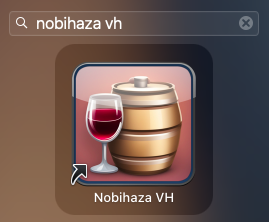
- You will now see the Nobihaza game you just added in the macOS Launchpad. You just need to click on it to run it.
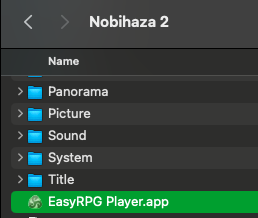
Running with EasyRPG
-
Re-open the folder containing the EasyRPG Player application downloaded from the Prerequisites section of this guide.
-
Copy that file and paste it into the game folder.
- If you have already copied the file to the parent folder containing the game’s folder, you don’t need to do this step. Instead, run the EasyRPG Player application in that parent folder, and EasyRPG will display a selection menu for you to choose the game.
Some important macOS folders (like Downloads or Applications) may block applications from writing data to them by default, which will prevent games in those folders from being able to save. You can either move the game to another folder or see the fix in the Troubleshooting and Tips section.
- Finally, double-click the EasyRPG Player application to play.
RPG Maker XP/VX/VX Ace
Using the Game.exe file
Do the same as in the Running with the RPG_RT.exe file section for RPG Maker 2000/2003. However, instead of selecting RPG_RT.exe, select the Game.exe file instead.
Using MKXP
Very few games are compatible with MKXP, and for macOS, the compatibility is even lower. If you cannot run a game using MKXP, you need to go back to playing the game with the
Game.exefile.
-
Download MKXP for macOS and then extract the downloaded file.
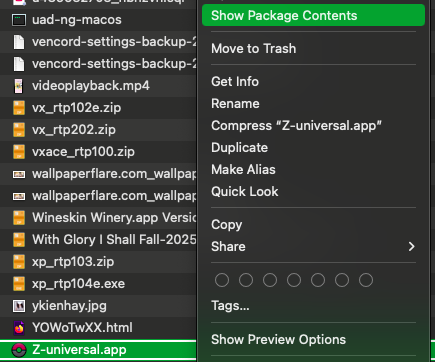
-
Right-click the newly extracted
Z-universalapplication and click the Show Package Contents button.
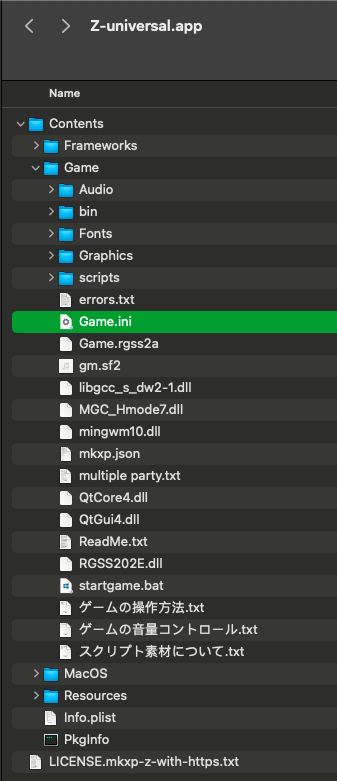
- Navigate to the
Contents/Gamefolder of the application and copy all the files from your game folder into this directory.
- You can also rename the
Z-universalapplication to any name you want, then drag and drop the application into the macOS Applications folder and click on the game to run it.
Some important macOS folders (like Downloads or Applications) may block applications from writing data to them by default, which will prevent games in those folders from being able to save. You can either move the game to another folder or see the fix in the Troubleshooting and Tips section.
RPG Maker MV/MZ
- Go to the
nwjsfolder that you downloaded and extracted in section 1. Copy thenwjsapplication into the game folder.
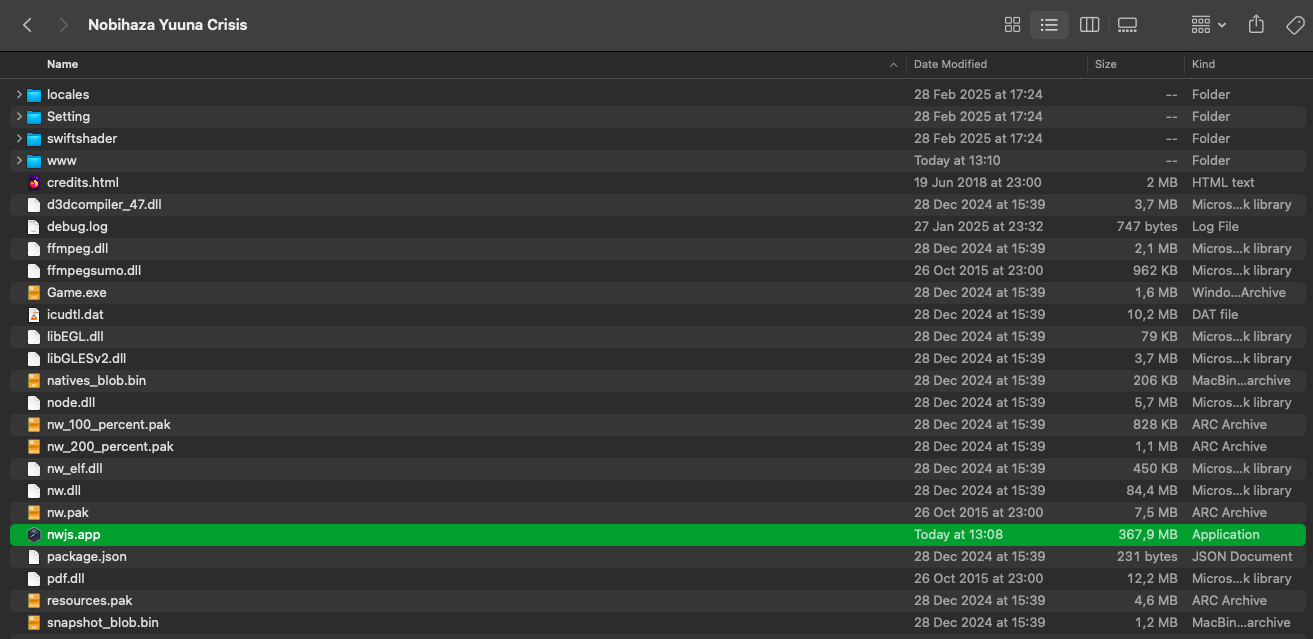
- Copy all the remaining files in the game folder, except for the
nwjsapplication.
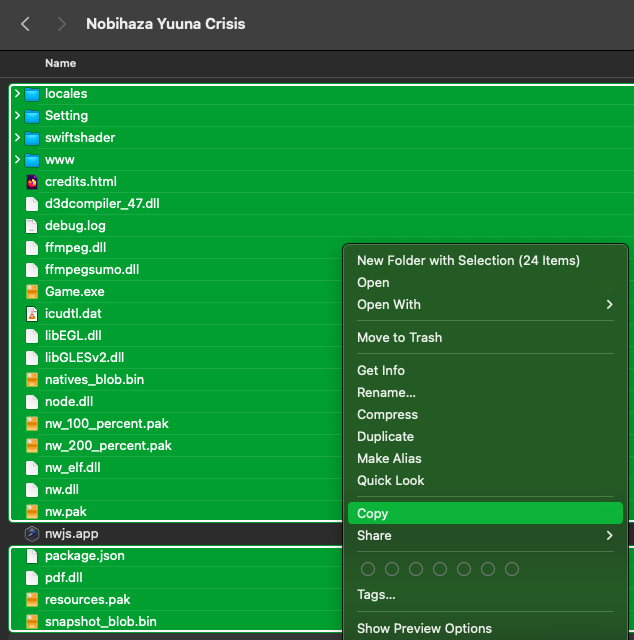
- Right-click the
nwjsapplication, select Show Package Contents. Navigate to theContents/Resourcesfolder and create a new folder namedapp.nw.
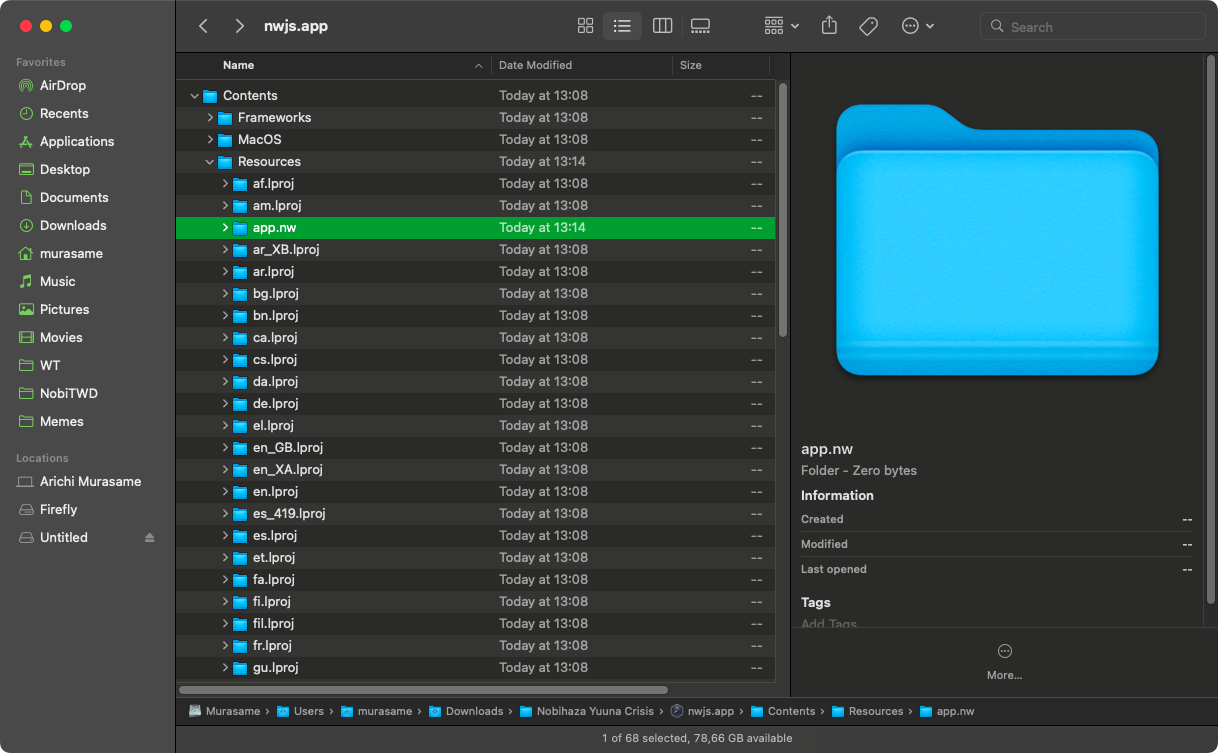
- Press the key combination
Command + Option + Vto move all the files you just copied from the game folder into theapp.nwfolder.
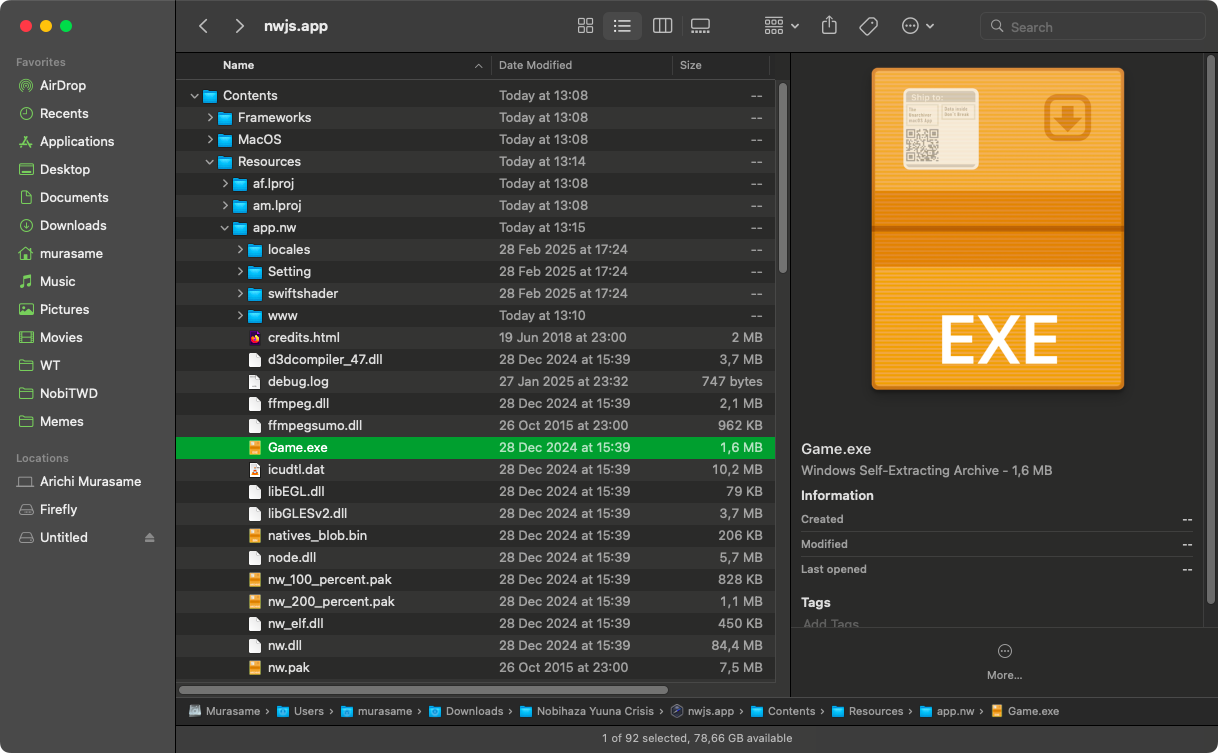
- Rename the
nwjsapplication to any name you want, drag and drop that application into the macOS Applications folder, and run that file.
Some important macOS folders (like Downloads or Applications) may block applications from writing data to them by default, which will prevent games in those folders from being able to save. You can either move the game to another folder or see the fix in the Troubleshooting and Tips section.